How I Built My Own Mechanical Keyboard
And here I am writing about them again!
I got my first mechanical keyboard in 2014 and instantly got fascinated with the pleasure of typing on such a device. The first one was a Filco Majestouch Ninja. Later on a WASD Tenkeyless, I wrote two blog posts: one explaining mechanical keyboards in general, and the other comparing switch profiles, chassis and everything regarding the 2 keyboards I had. I was super happy with my mechanical keyboards and used them every day, but something started to change when I discovered the Mechanical Keyboards subreddit, not long ago.
That’s when I started seeing other non-traditional keyboards showing up. Some of them very unique in terms of colors, keycaps, material, cables, artisan-made keys, electronic parts, firmware, appearance, and even the switch.
When I say switch, I am not referring to the fact of choosing a switch style that is already available on the market to better suit your needs. While that is nice, I am talking about something really distinct here, something that is only possible due to the amount of traction mechanical keyboards is generating around the community worldwide. I am talking about crowdfunding.
Getting enough people committed to fund something unprecedented became a game-changer, because of the nature of how enthusiasts can meet together to make things happen. If you are not familiar with crowdfunding, it works like this, in a nutshell:
- Someone skilled in product creation gets inspired to create something, but money is needed to make it happen;
- That person/organization find a way to announce their idea to the world by using a website;
- A goal is set in terms of necessary funds to do the project;
- People who are interested, and willing to see that project becoming a reality, funds the campaign;
- Product is created and sold to the contributors (a.k.a. “bakers”), resulting in a new unique product not generally available in the market.
During my journey, I discovered two primary sources of products and knowledge. First, a website called Drop (formerly named Massdrop), which is basically crowdfunding based on 3 things: mechanical keyboards, audiophily, and knives - every nerd’s dream. Drop gave me the differentiator of making it easy to buy bundles with compatible parts while providing quality.
Second, I also discovered a YouTube Channel called Taeha Types, which gave me all the knowledge needed to be determined to build my very own special keyboard. He does some really unique keyboards assembly on live streaming on his YouTube channel.
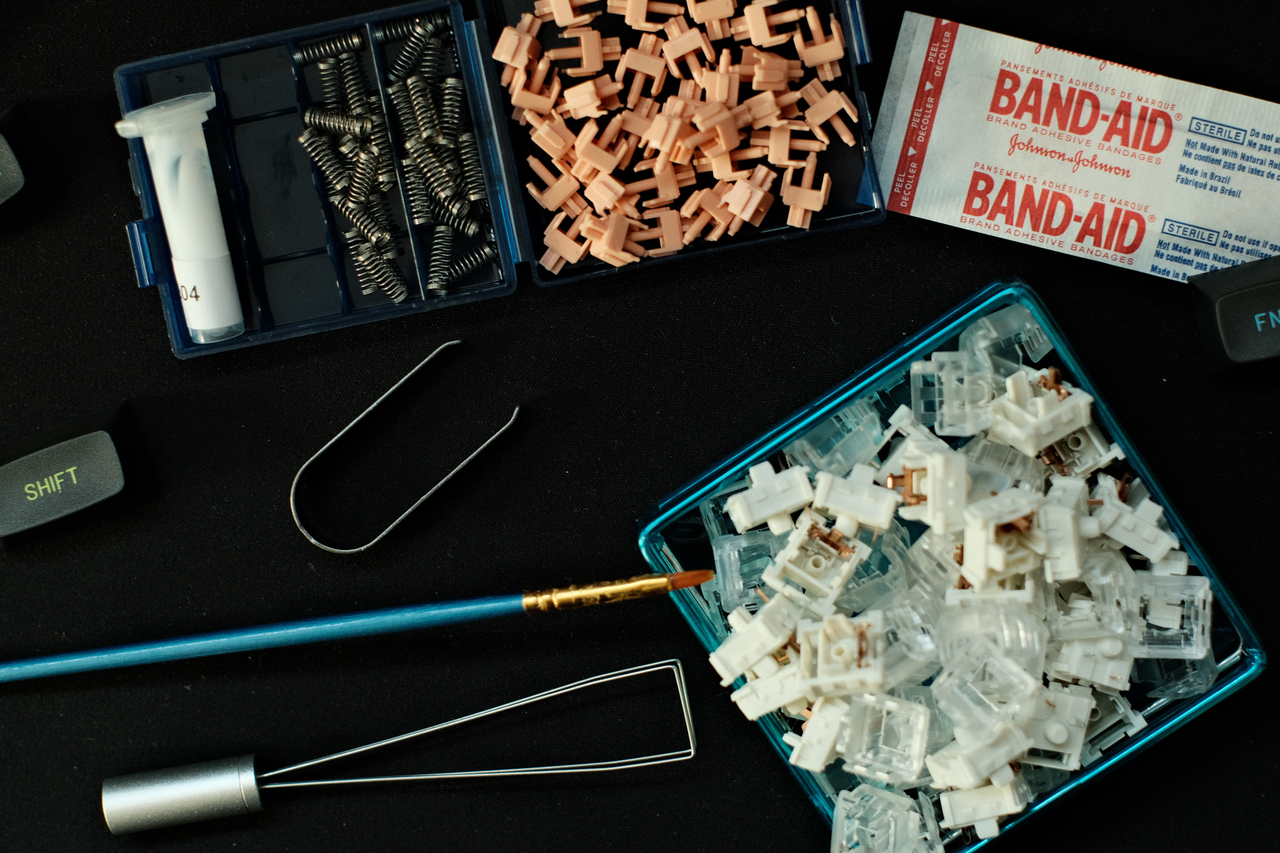
I learned things like switch lubbing, the band-aid mod, stabilizer trimming, and other stuff from Taeha Types.
Those are the parts I bought from Drop:
- Drop ALT Hi Profile Barebones Keyboard, that came with a plate, the hot-swap PCB, plate-mount stabilizers and the case ($140);
- Drop Halo Switch Pack (tactical), I got the Halo True ($45);
- Drop + Matt3o MT3 Susuwatari Custom Keycap Set ($120).
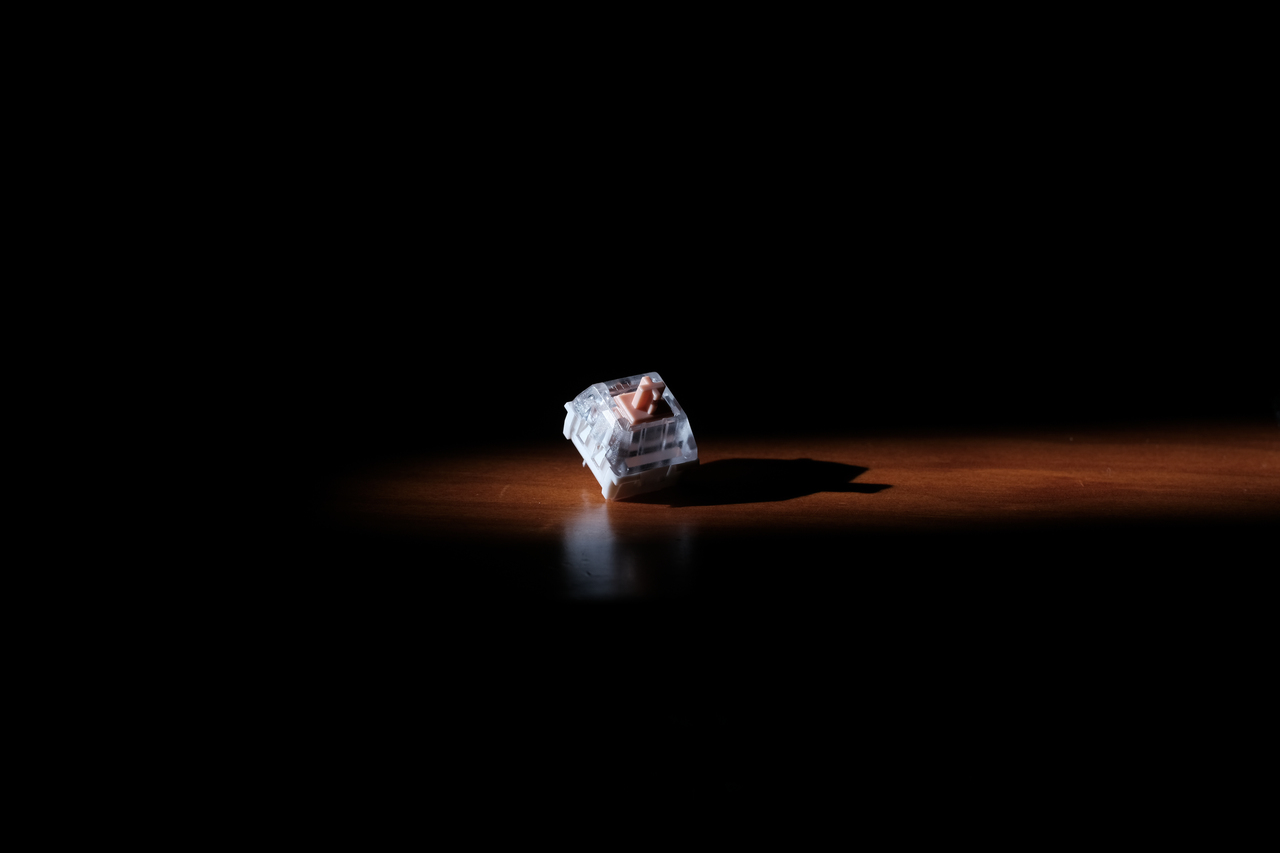
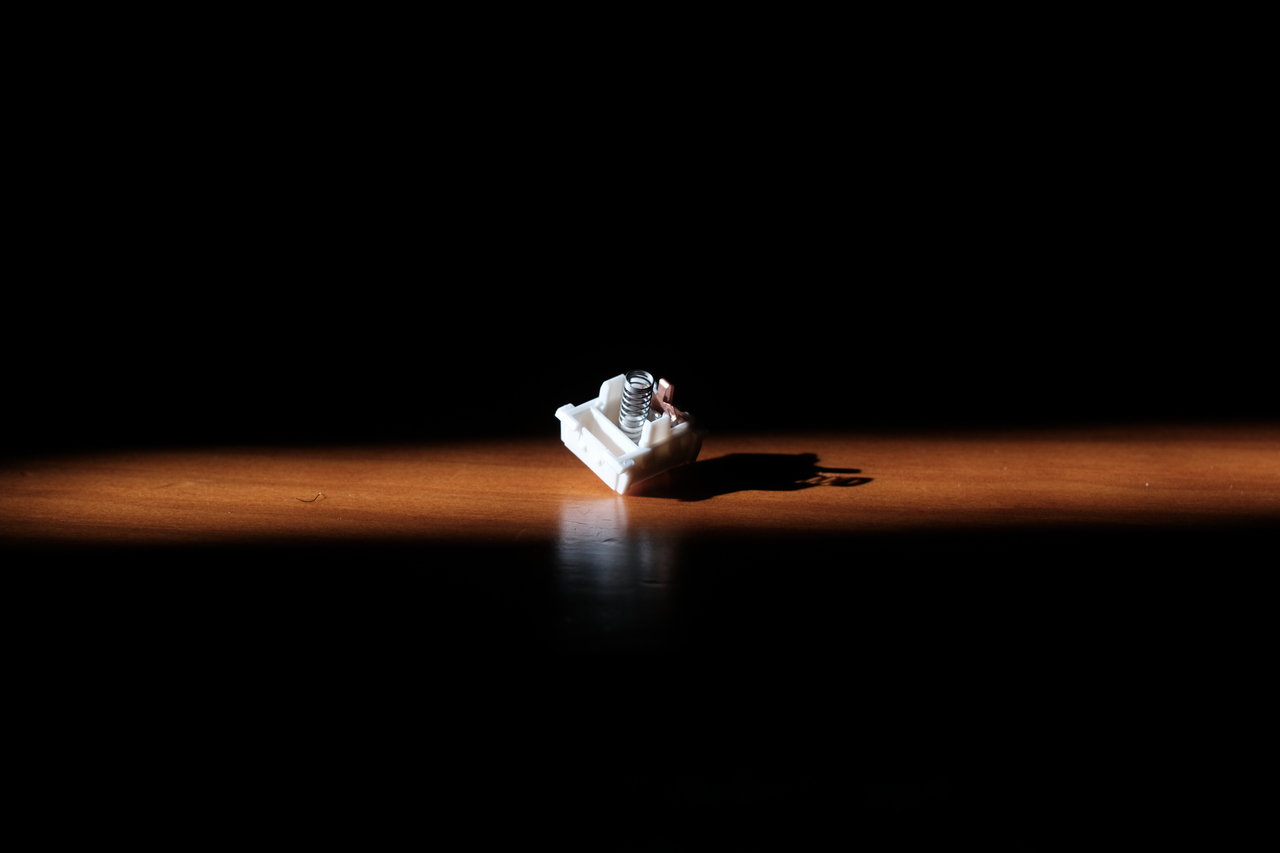
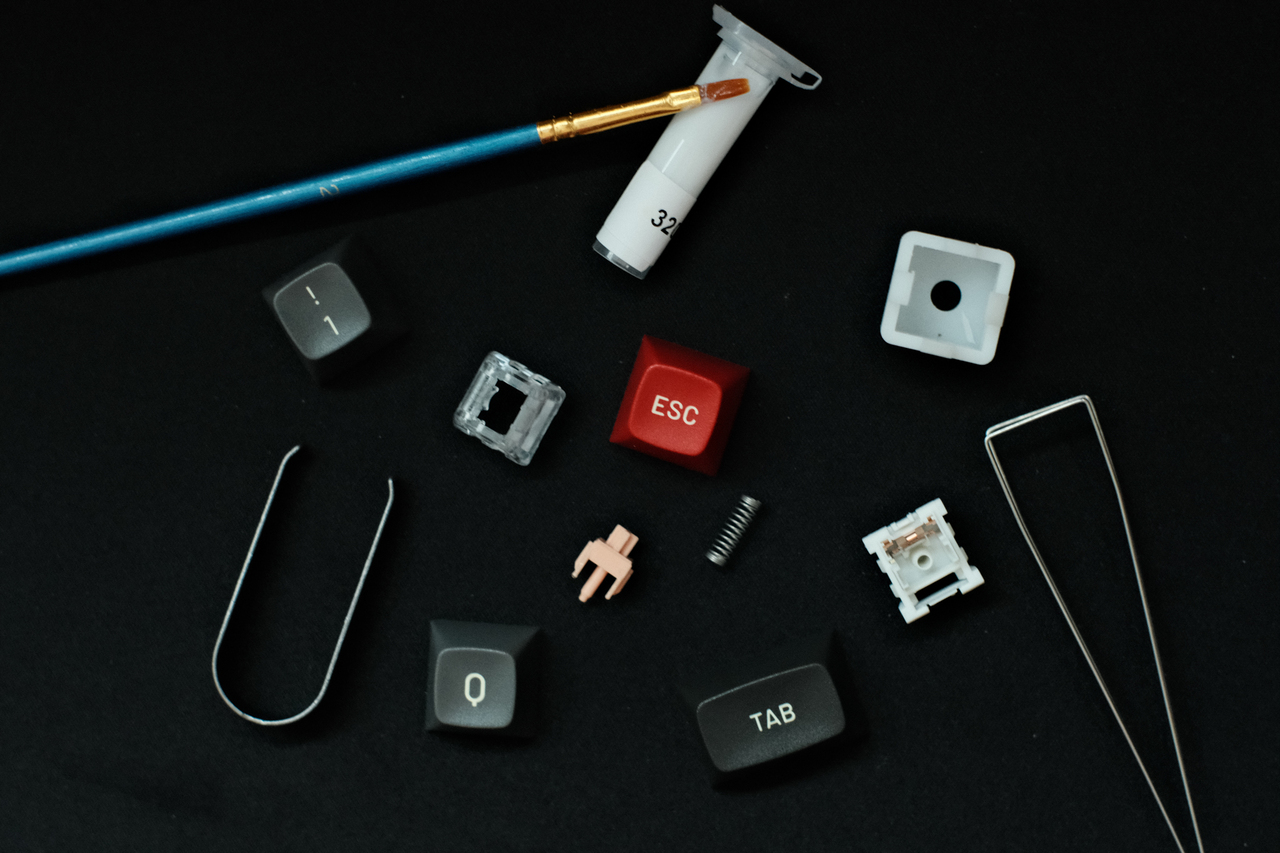
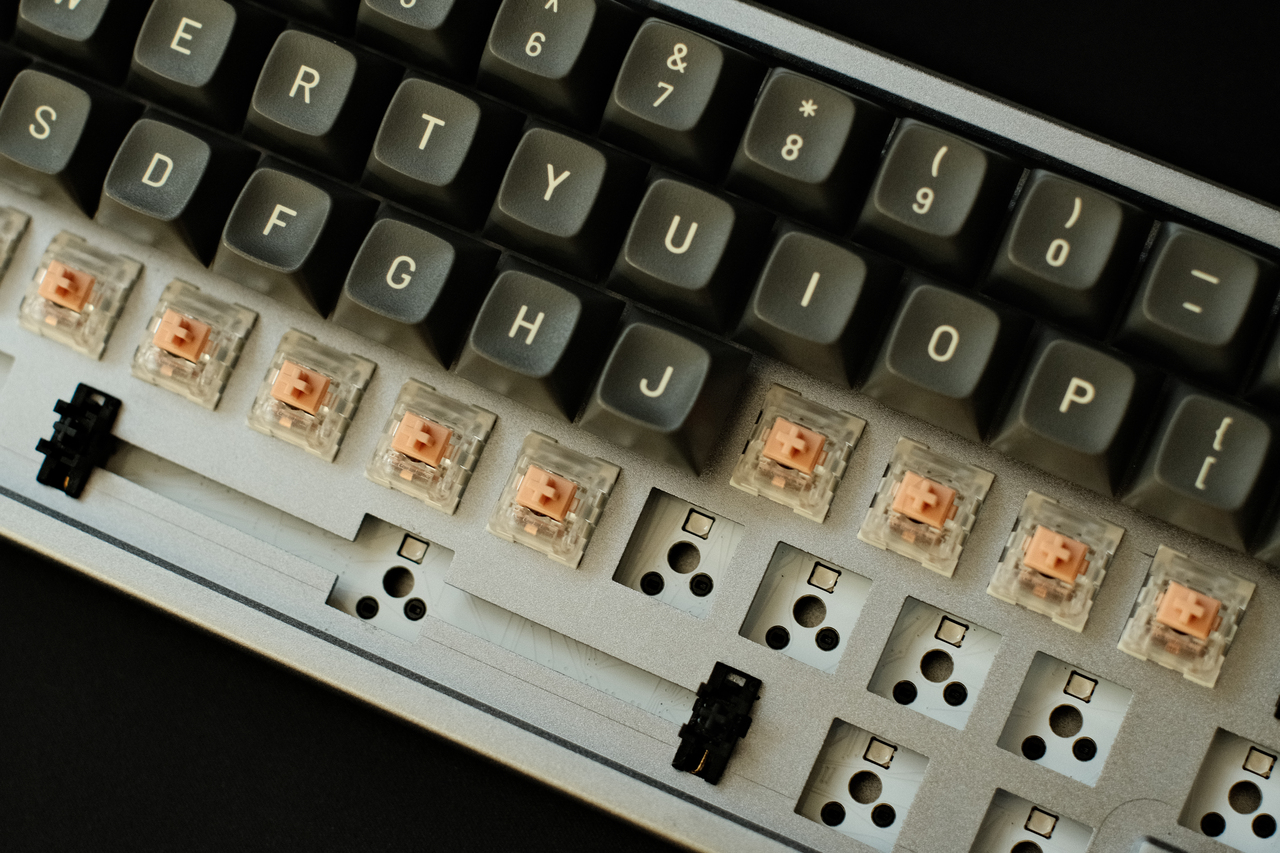
I really like the aluminum body on the Drop Alt, and the fact of being hot-swap made it very easy for me because it does not require soldering. I made some “shadow and light” pictures of the Halo switches. They are tactical and have a very unique feeling, it is similar to the Cherry MX® Black ones, but manufactured by Kahua and invented by Jacob Alexander. The spring force is ~100 gf.
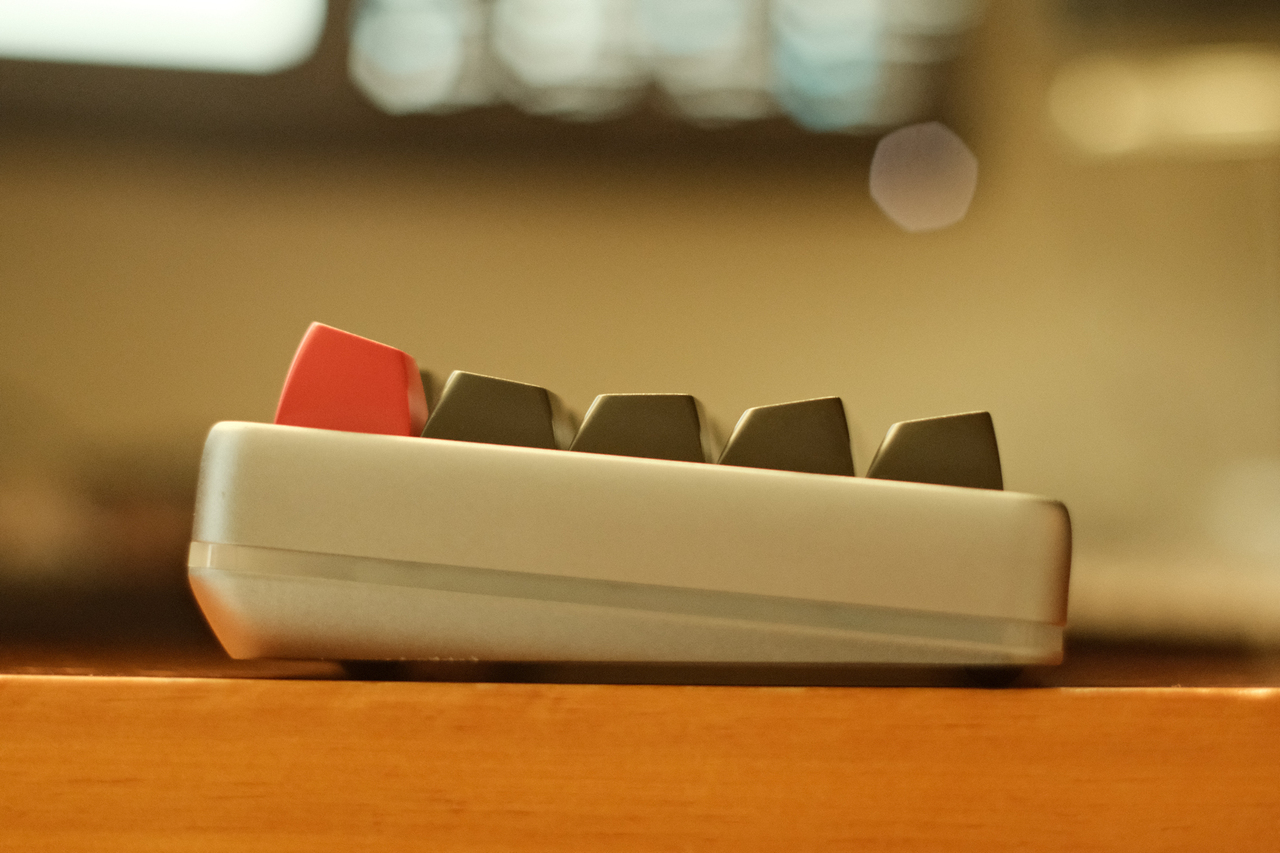
 The MT3 on the Keycap set represents the profile, I discovered that there are multiple profiles such as SA, MT3, OEM, KAT, KAM, Cherry and DSA, their shape can be sculpted or uniform profiles, which look more like linear on top. If you wish to learn more about keycaps, I recommend reading the Keycaps section on the Keyboard University website. The MT3 is a sculped one that has a higher profile with curved layout. In addition to that, those Keycaps are very well polished and elegant, my choice for them was because they look like retro keyboards, like the good and old IBM ones. Check out the Susuwatari box and a side picture of my keyboard, it’s clearly MT3. It was the first run.

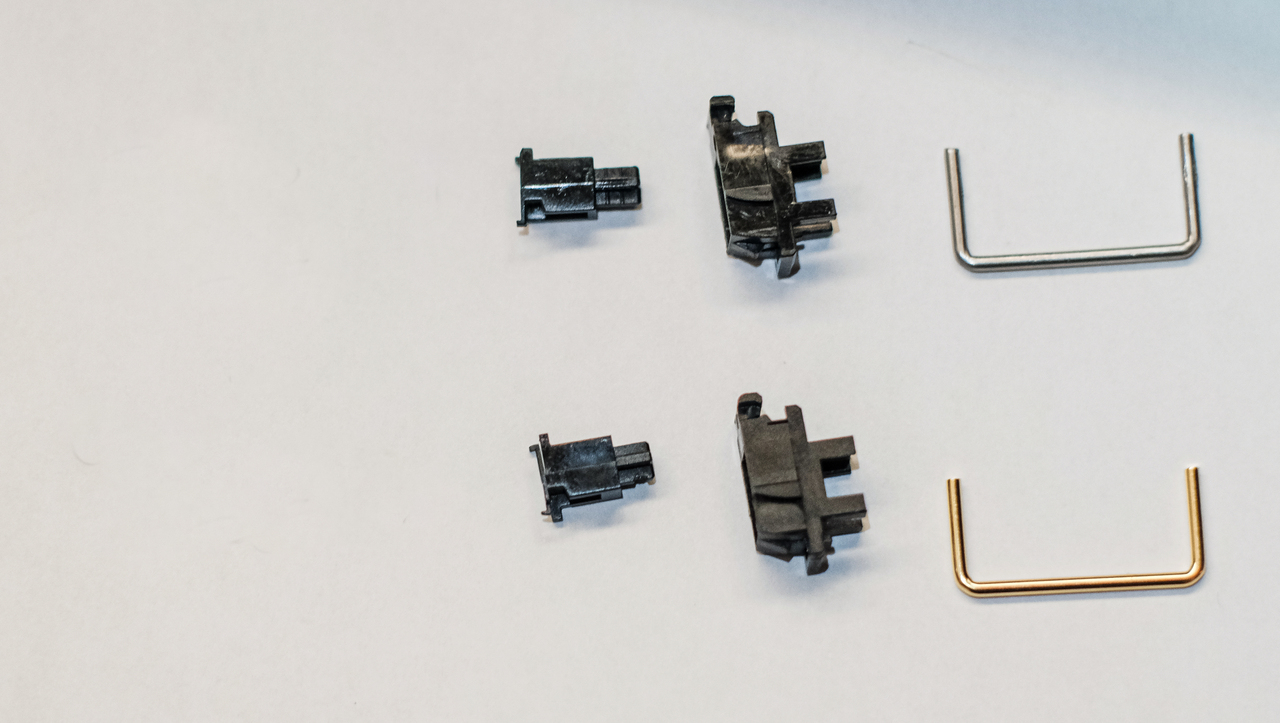
 After reading some reviews, I read that the stabilizers that come with the Drop Alt are not good, and indeed they were not on the same level of the other parts, so I bought the plate-mount stabilizer from Zeal Keyboards, which is best in class.
In the picture below, the stock stabs are on top, and the Zeal on bottom. You can clearly see the difference in plastic quality. The Zeal one looks more matte-ish.
 For the Drop Alt, I wanted to get the “Plate Mount (6.25 Spacebar Wire). Those stabilizers, often called stabs, need to be lubed with dielectric grease to work smoothly, so after watching Taeha Types video explaining how to clip, Lube and Band-aid mod the stabilizers. I got this dielectric grease on Amazon:
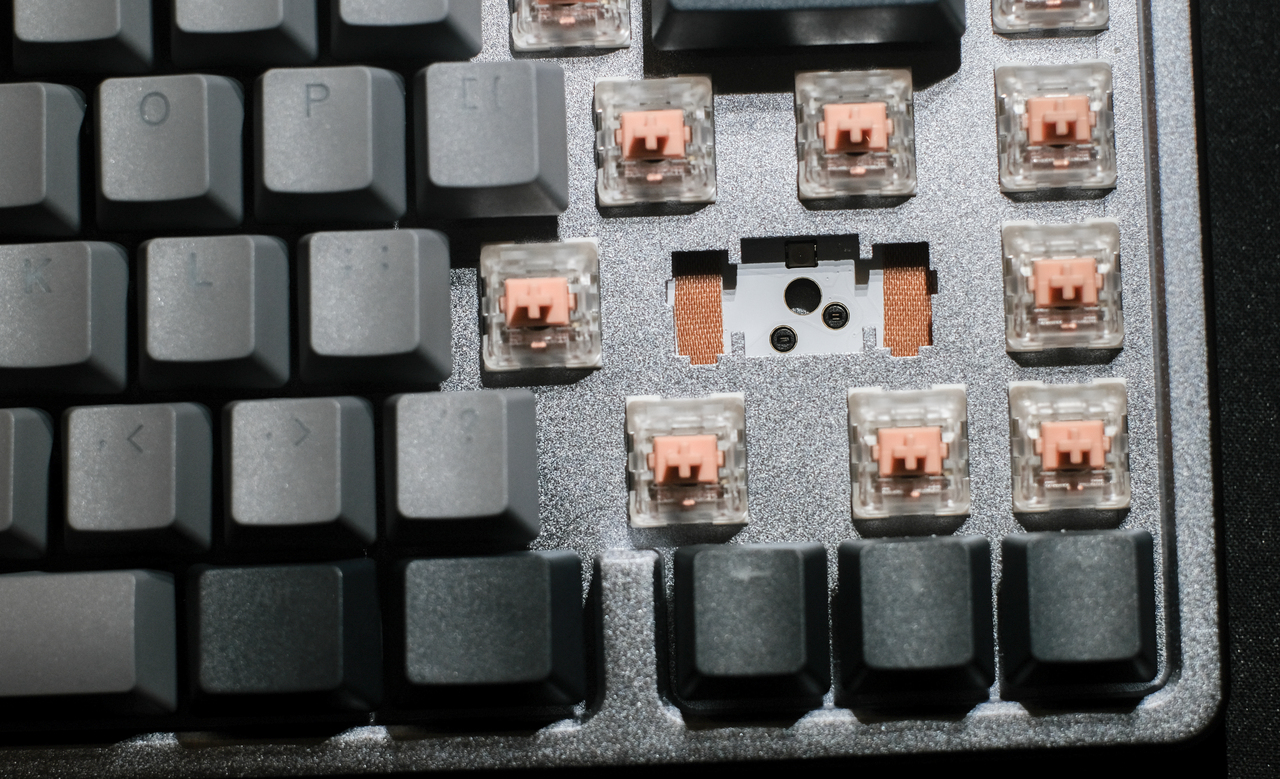
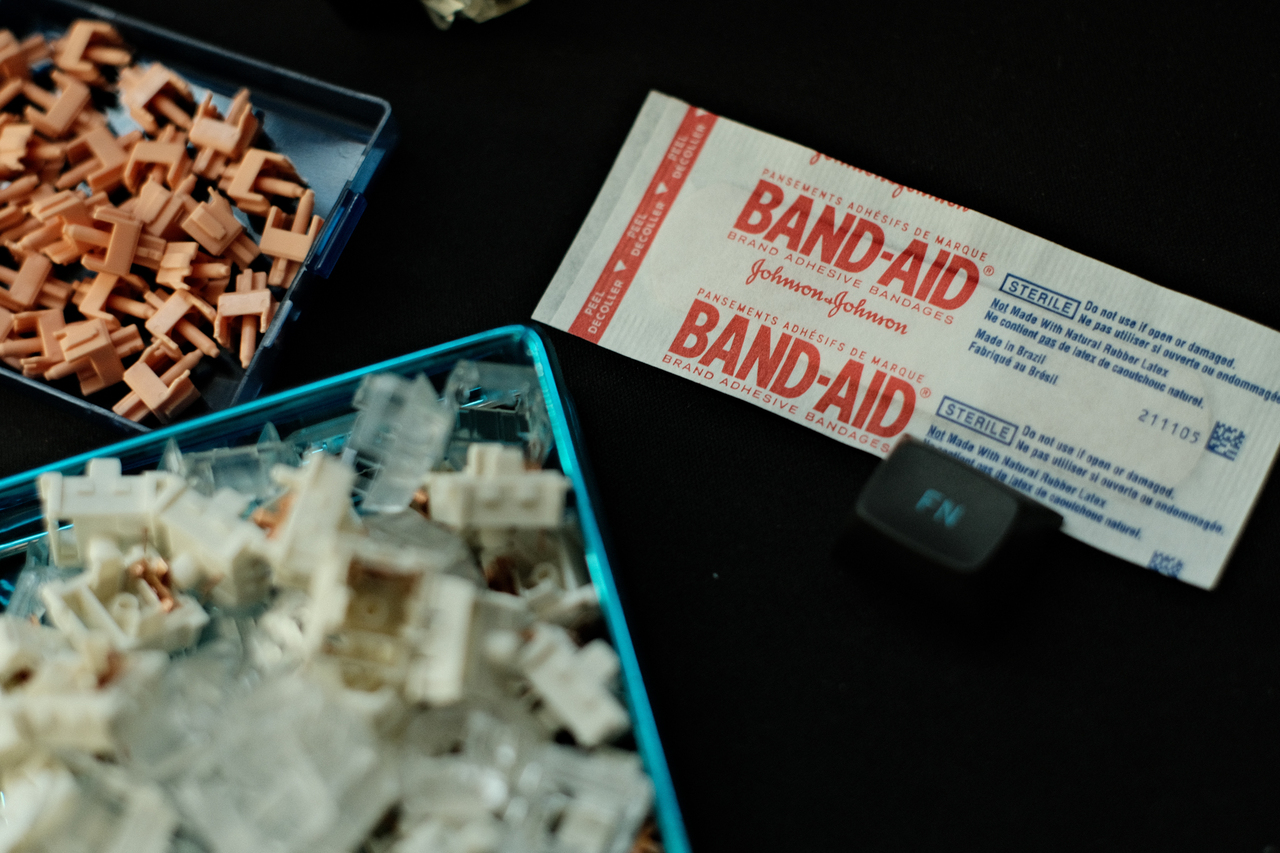
I also applied the band-aid mod, recommended by Taeha Types, so add a couple of band-aids in there. It needs to be the Flexible Fabric one. The band-aid mod is something kinda invented by Taeha Types, and it uses a band-aid underneath the area where the stabs touch the PCB. That gives a little bit of smoothness on keys that need stabs, which in the Drop Alt are CapsLock, SpaceBar, Enter and BackSpace. This is how the band-aid mods look like when applied. The goal is to supress some sound and make the overall feeling smoother, and that technique really does the job.
 Here is the band-aid link, just for convenience (it has to be the flexible fabric):
- Johnson & Johnson Band-Aid Brand Flexible Fabric Adhesive Bandages for Wound Care and First Aid ($6)
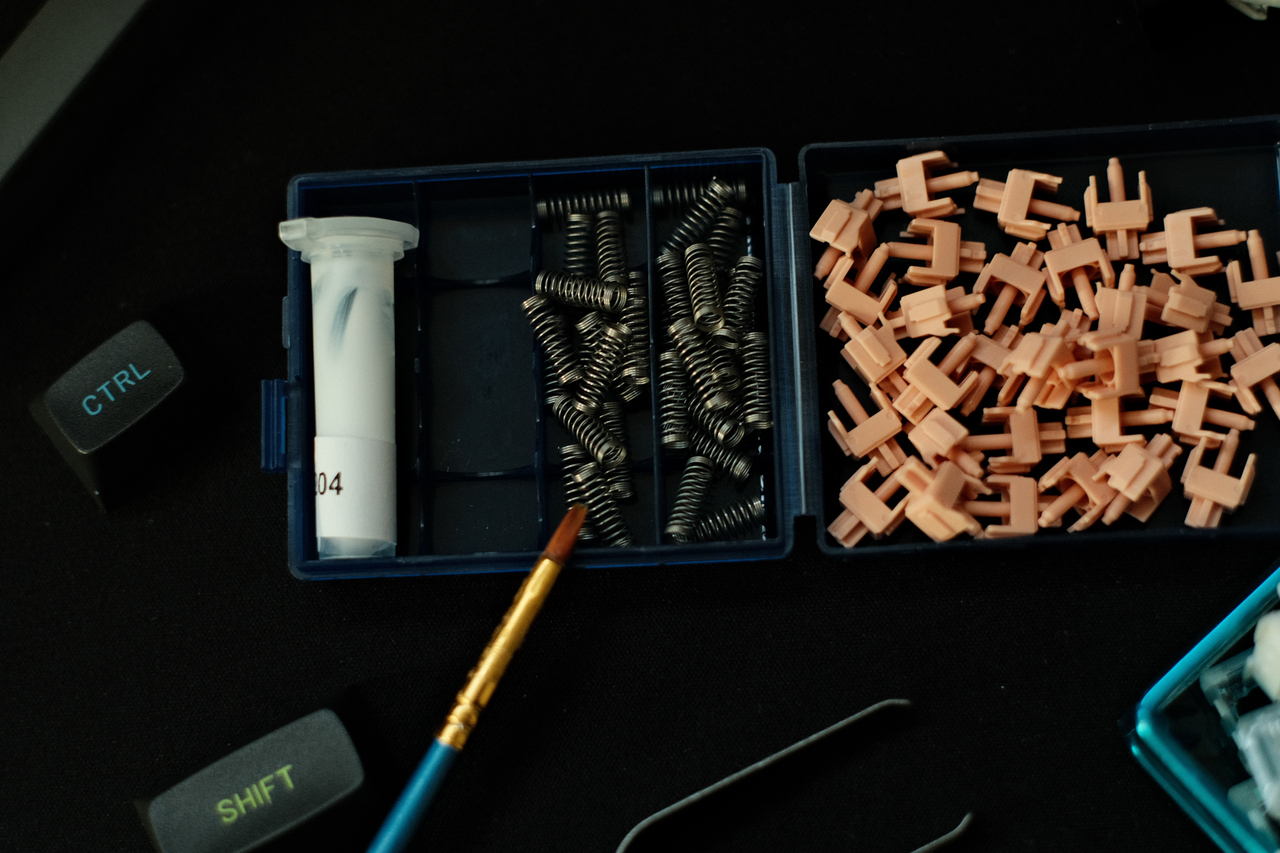
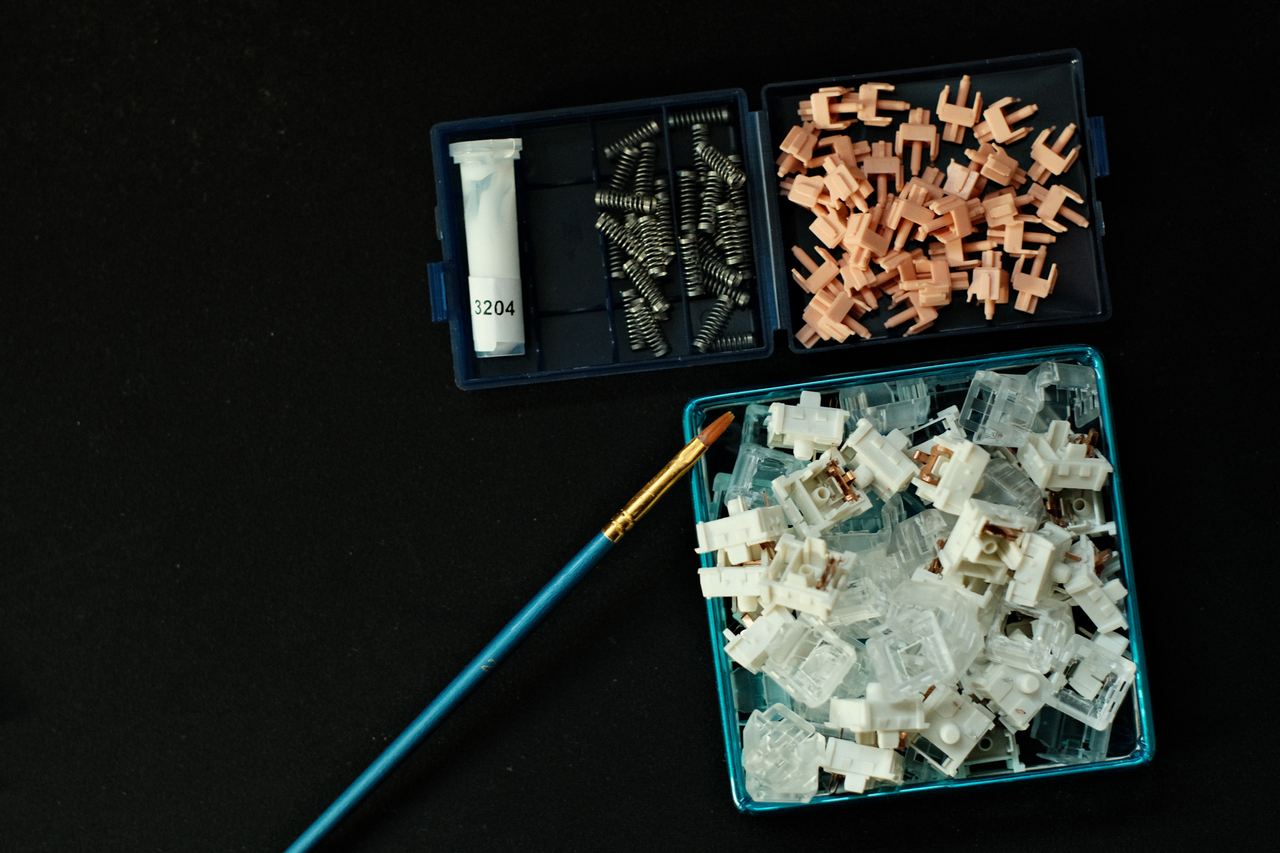
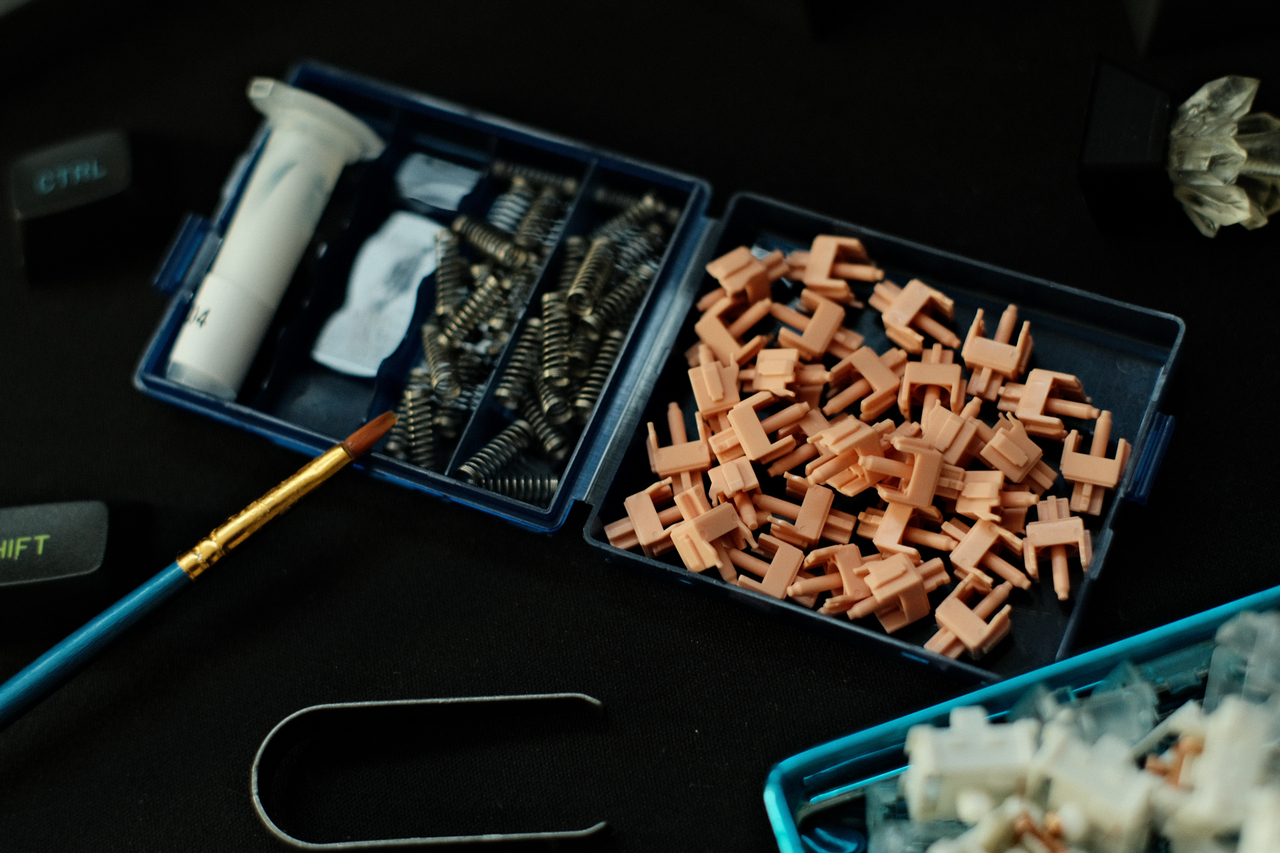
After reading more, I also saw that the Drop Halo Switch Pack would come inconsistently lubed from factory, so I got a grade-0 lube from 1UP Keyboards. I got the Tribosys 3204. Although the 1UP website says it is recommended for linear switches, other websites says it’s good for tactical:
- Switch Lubricant – 2ml ($8).
 It took me a while to lube every switch, but I faced that as a hobby and spent time with my wife while she did some cross-stitches. I also learned how to lube with the master Taeha Types in a video, where he explains how he lubes MX Switches with Thin Lube.
Here are some pictures I took to document this beautiful crafting process:
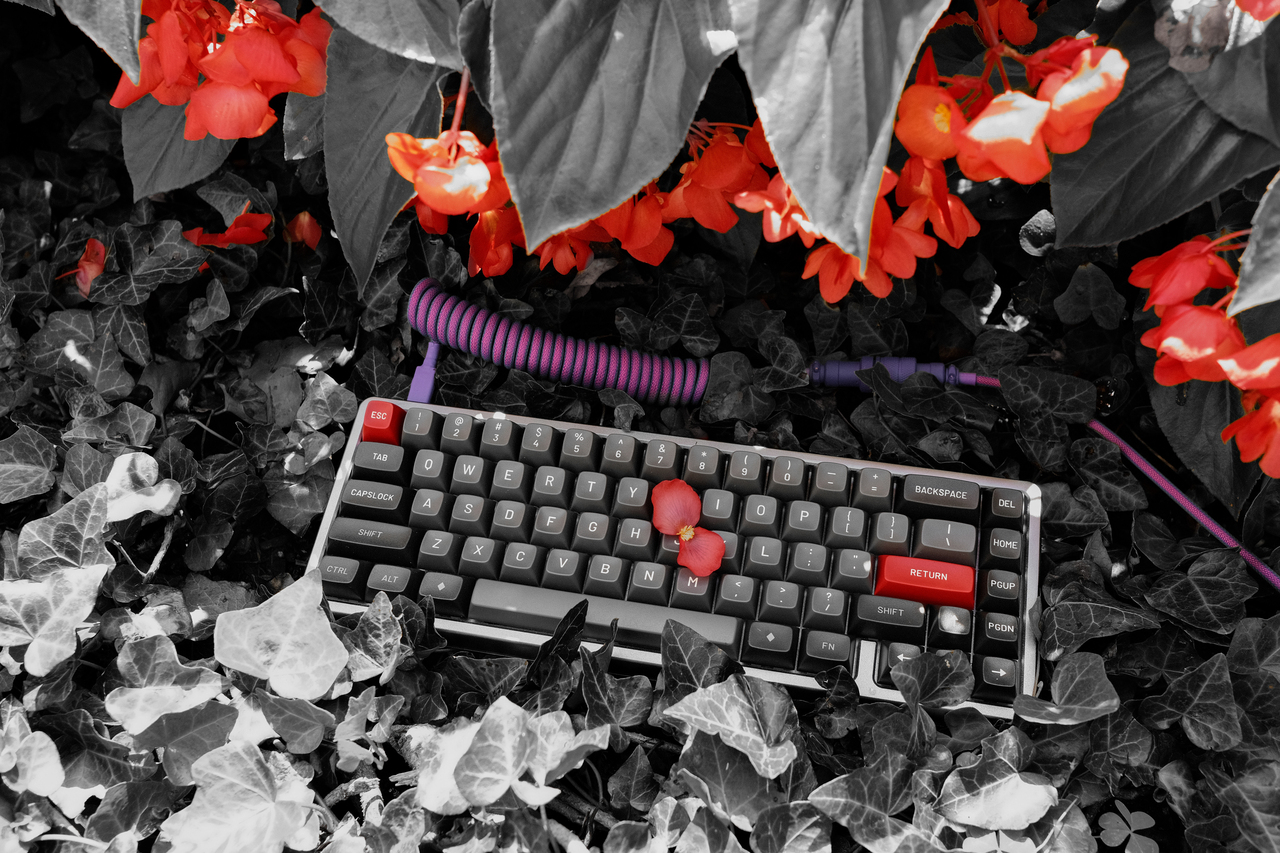
 The show would not be complete without a stylish cable to plug the keyboard into the computer. I went on Rockets Cables and bought a custom-made one. Those cables have a coil and an aviator connector, which adds a super fancy extra look:
Yes. I’m pretty sure you did the math. I paid more than $400 in a keyboard. That process didn’t happen in 1 day, and I bought those parts little by little after researching a lot and deciding to spend money on something I simply use every day on my professional life. I also spent time on this journey.
Imagine the number of hours I put into that. Easily add 40+ hours between reading, interacting on Discord channels, watching YouTube videos, taking pictures, and writing reviews for the products I purchased, not to count the amount of time assembling the parts together and lubing every single switch.
Spending 40+ hours researching is one of the most important things I do in my life. If you are the type of person who counts hours and is goal-oriented and is always asking “why the hell someone would put too much time on such a useless thing?” well, I have something you might be interested in.
The key to achieving success here is to face this journey as something that satisfies curiosity and learning achievements, which is absolutely valuable in the long term. During the process, I learned so many things that I don’t even know how to start, and I am confident that this learning can, and will be used somewhere else in my life.
At this point, I believe you want me to stop writing (although it’s hard in this keyboard) and show up the pictures I took from my little journey into this world. Here they are:
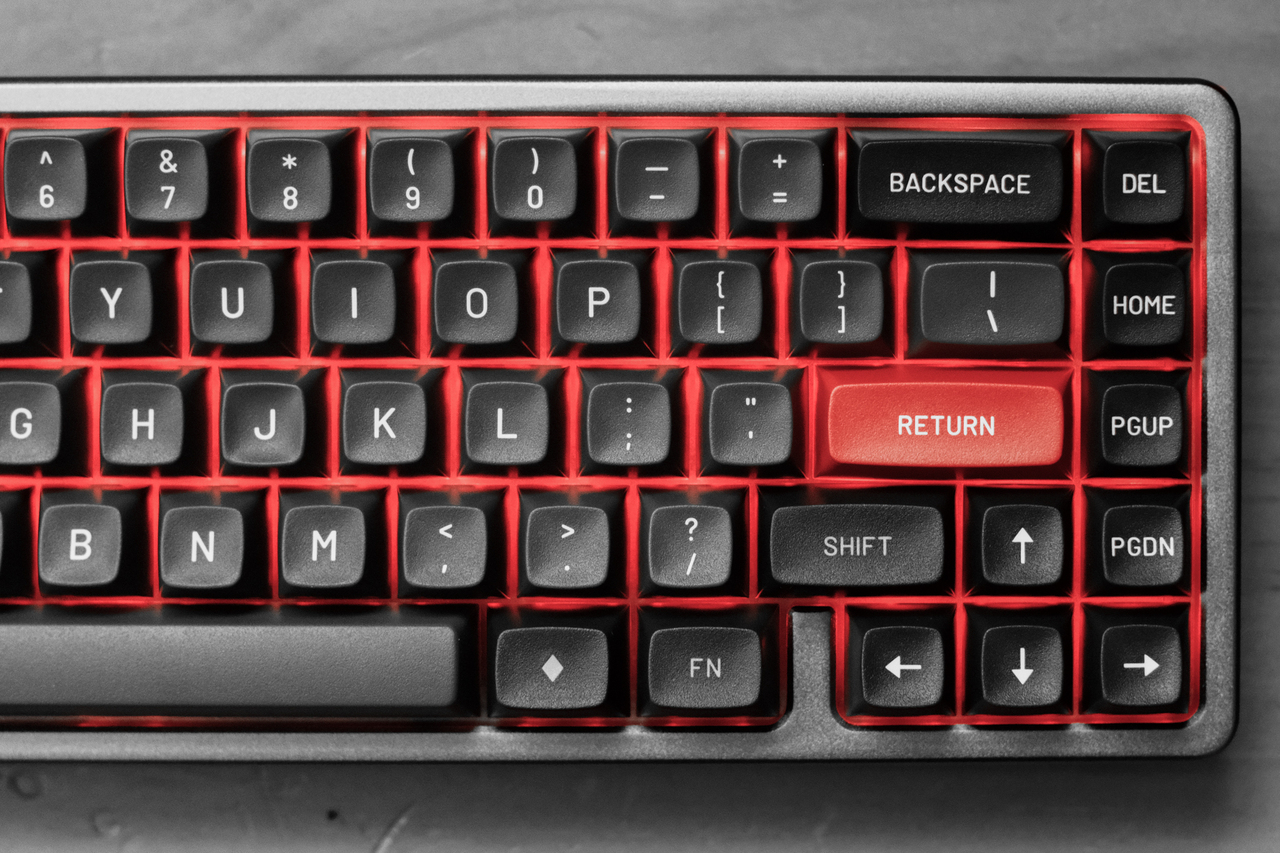
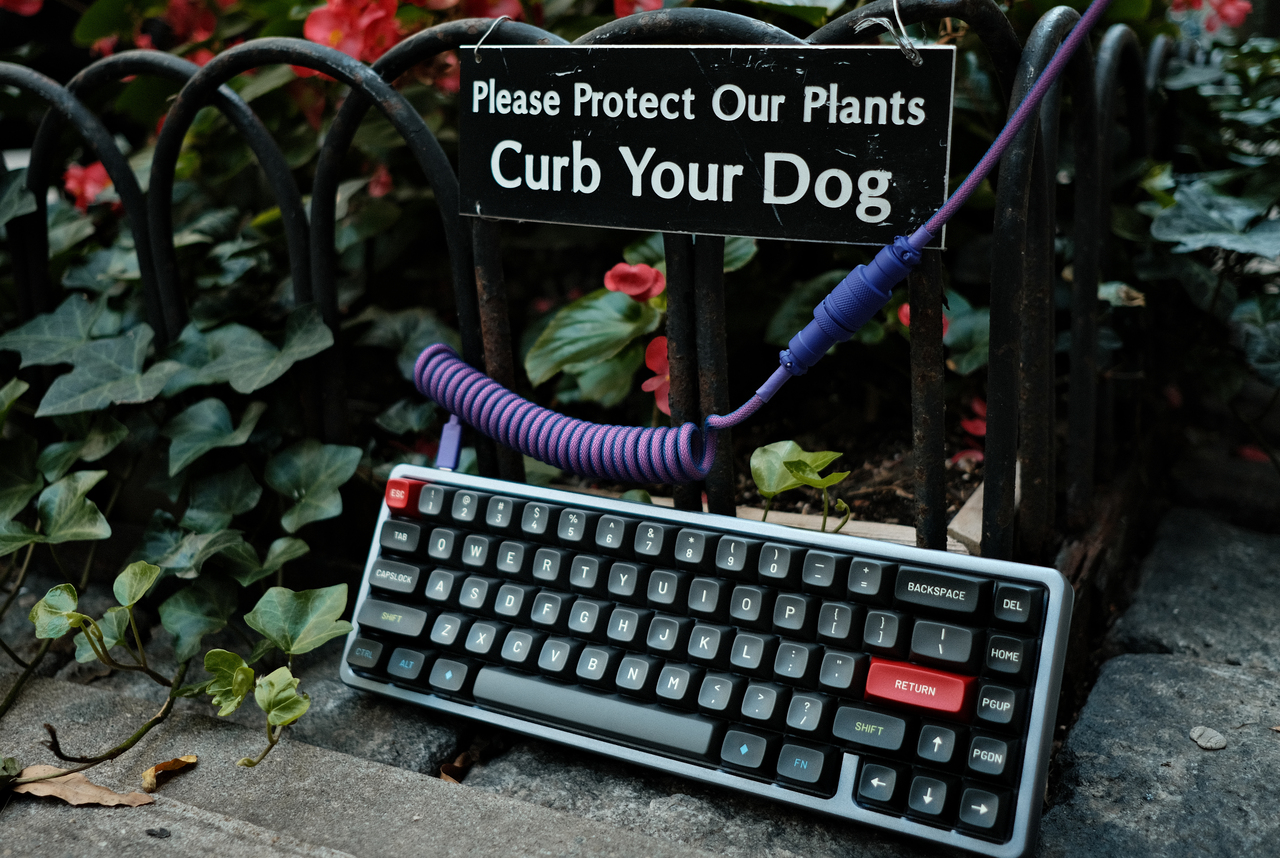
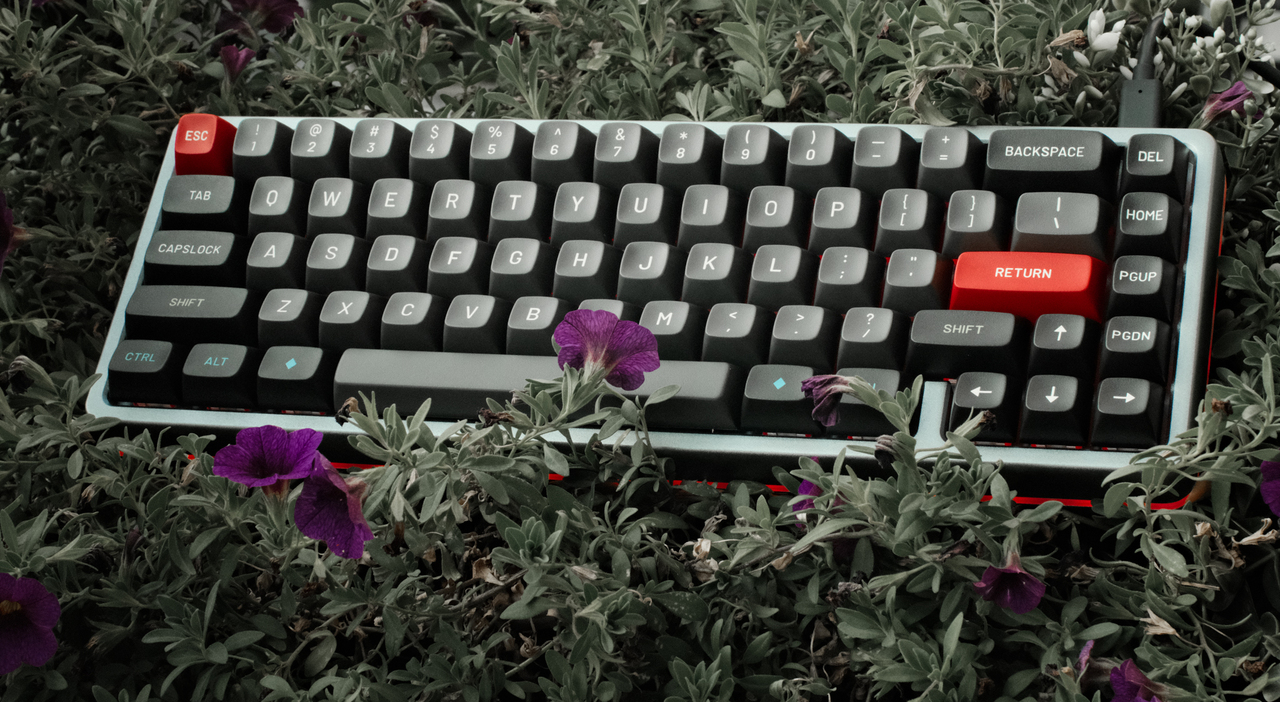
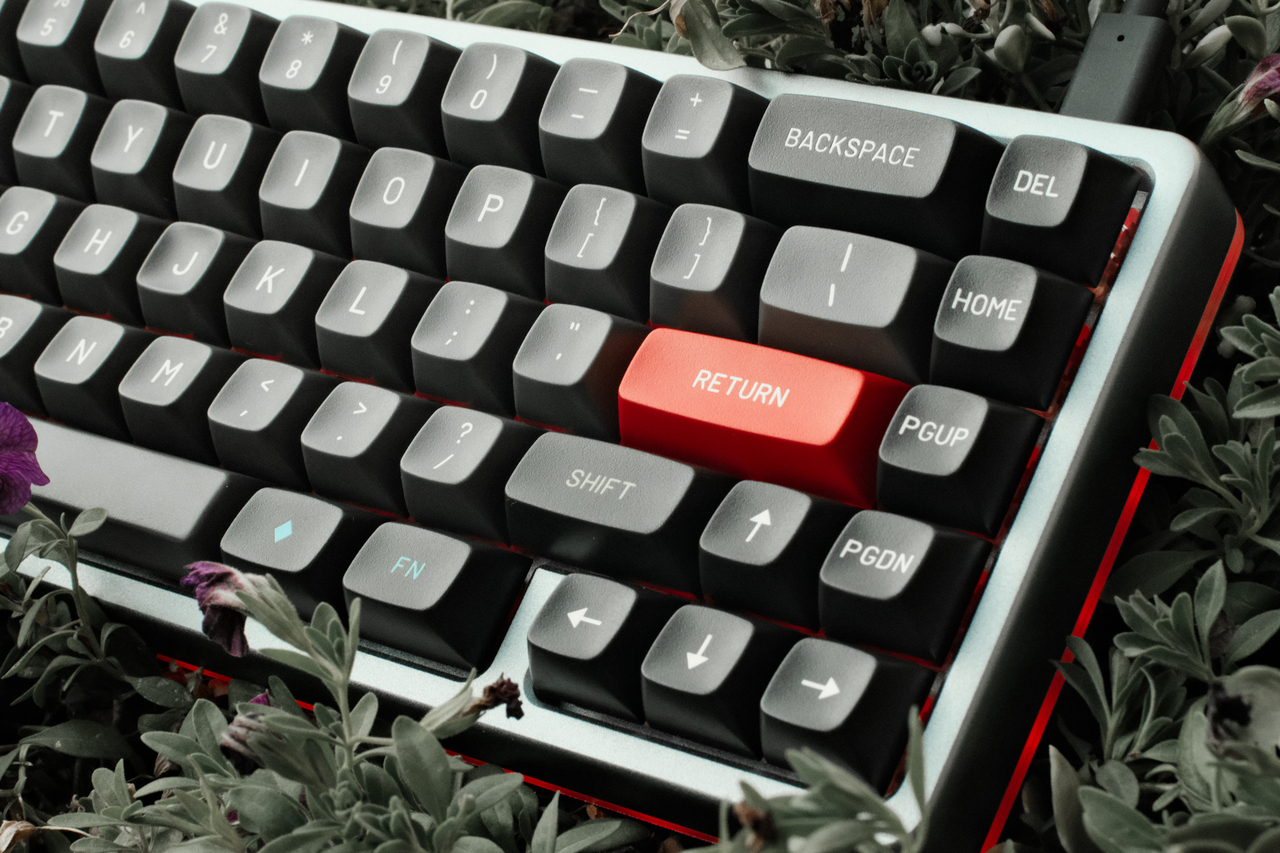
 All pictures were taken with the Fuji X-Pro3 simulating a Kodachrome64 film and using a Super Takumar 50mm f/1.4 lens, but this is a topic for another post.
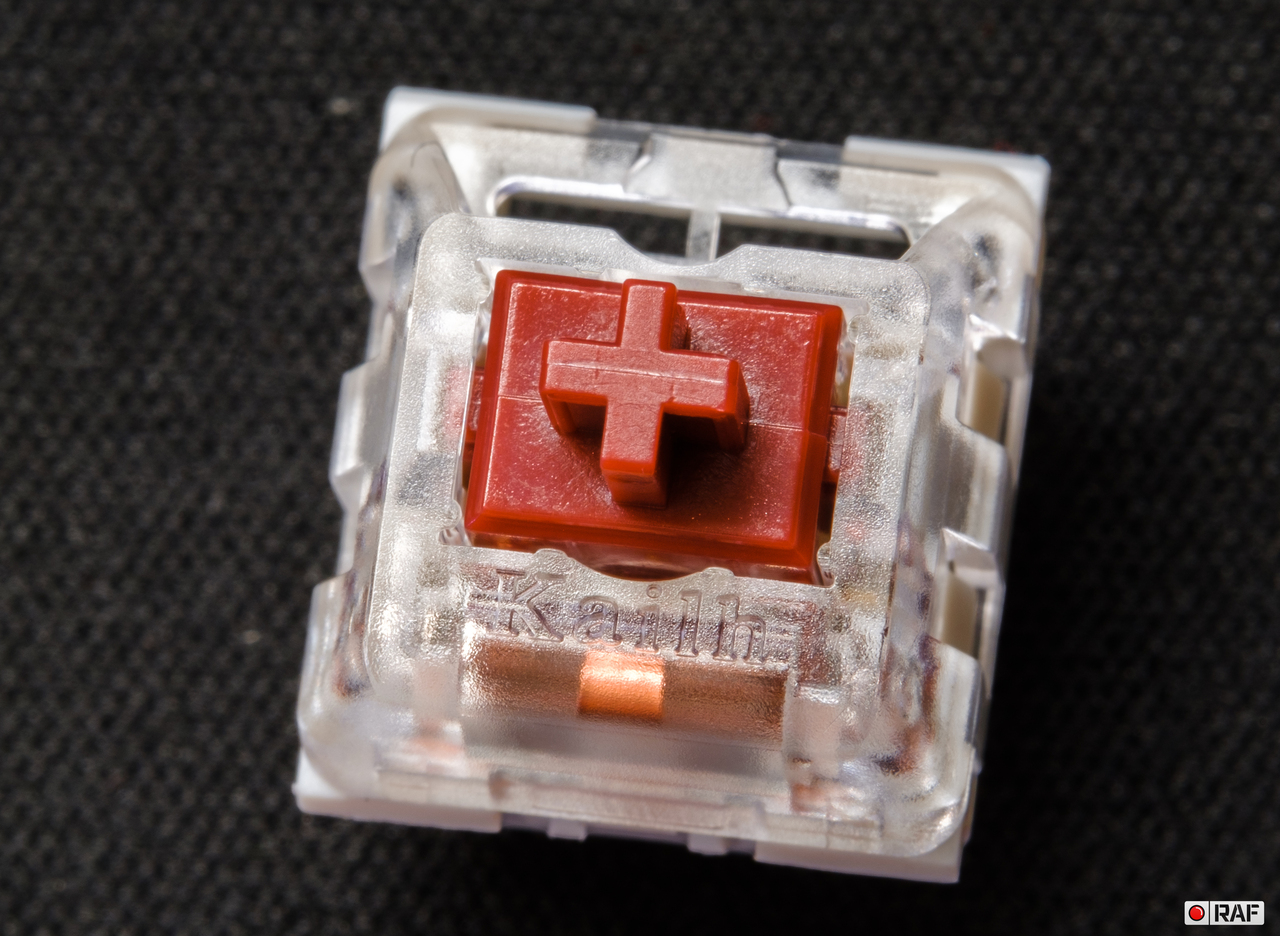
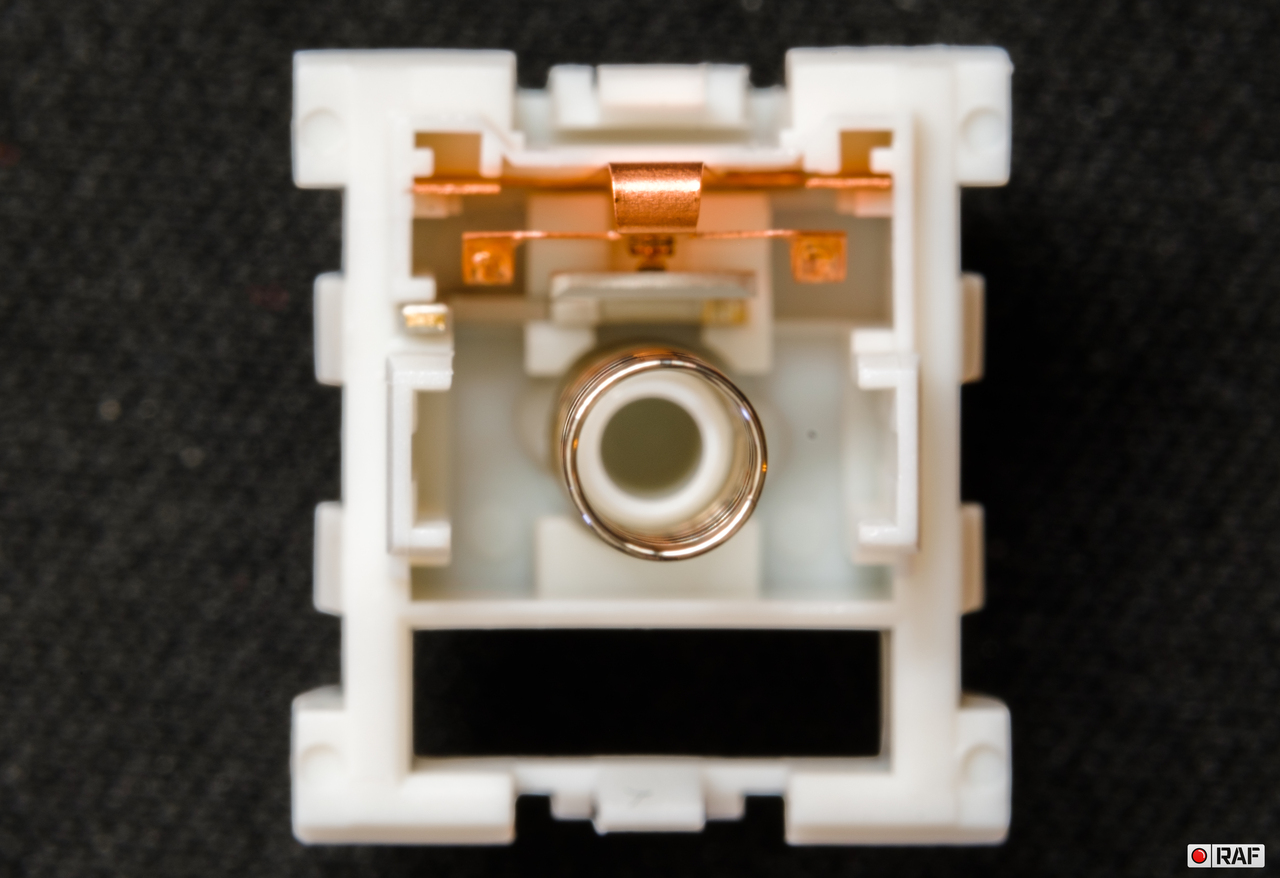
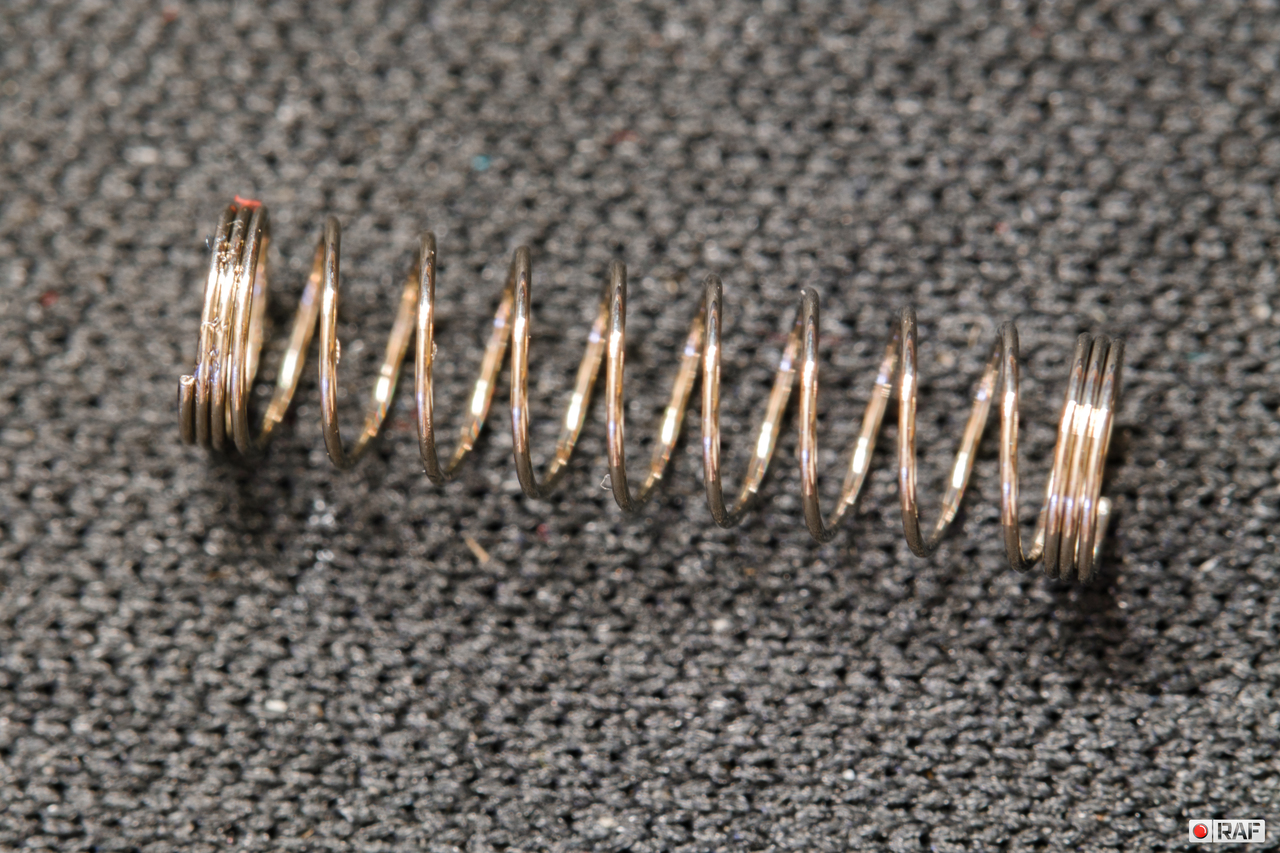
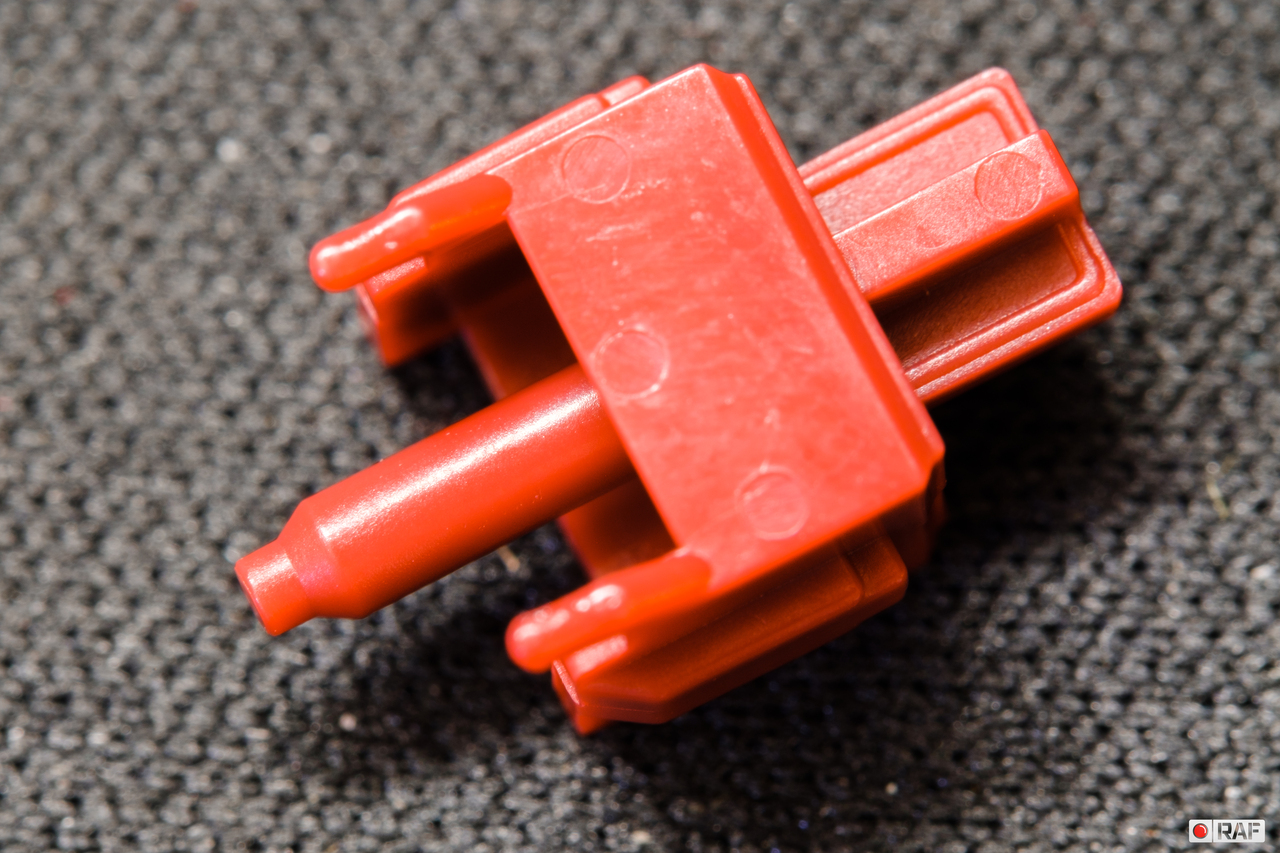
Update (Dec. 18th, 2020):
I decided to change switches because the original ones were too hard. The spring resistance was too much for my fingers and that was making me typing less due to fatigue. I replaced the switches for a Kaihl Speed Copper. They are lightweight and the travel time is reduced, making the typing faster.
Although, I kept the original switches on the keys where I use my thumb, such as Ctrl, Alt, space bar and others. Now this thing is like driving a cadillac!
I took some macro shots of the new switches, here it is: